Sync LobeChat Fork: Manual Update Guide
Hey guys! Ever found yourself scratching your head because your forked repository isn't quite up-to-date with the original? Especially when you're working with cool projects like LobeChat? Well, you're not alone! Sometimes, things happen behind the scenes, like changes in the upstream repository's workflow files, which can cause GitHub to automatically suspend those sweet, scheduled updates we all rely on. In this case, the LobeChat upstream repository workflow file has been modified, resulting in an automatic update suspension from GitHub. Fret not! This guide is here to walk you through the simple steps to manually sync your fork and get you back on track.
Why Manual Syncing?
Manual syncing is crucial, especially when automated processes stumble. In the context of forked repositories, keeping your fork synchronized with the upstream repository ensures that you have the latest features, bug fixes, and security patches. Think of it like this: the original repository is constantly evolving, and your fork is like a snapshot in time. Without regular syncing, your fork can become outdated, potentially leading to compatibility issues or missing out on important updates.
Moreover, understanding how to manually sync your fork gives you greater control and insight into your projects. It's a valuable skill for any developer, empowering you to troubleshoot issues and maintain your codebase effectively. So, let's dive into how you can manually sync your fork to stay updated with LobeChat.
Step-by-Step Guide to Manually Syncing Your Fork
1. Navigate to Your Forked Repository
First things first, head over to your forked repository on GitHub. This is the repository that you created by clicking the "Fork" button on the original LobeChat repository. Once you're there, take a moment to familiarize yourself with the layout. You should see your repository's name, branches, and other relevant information.
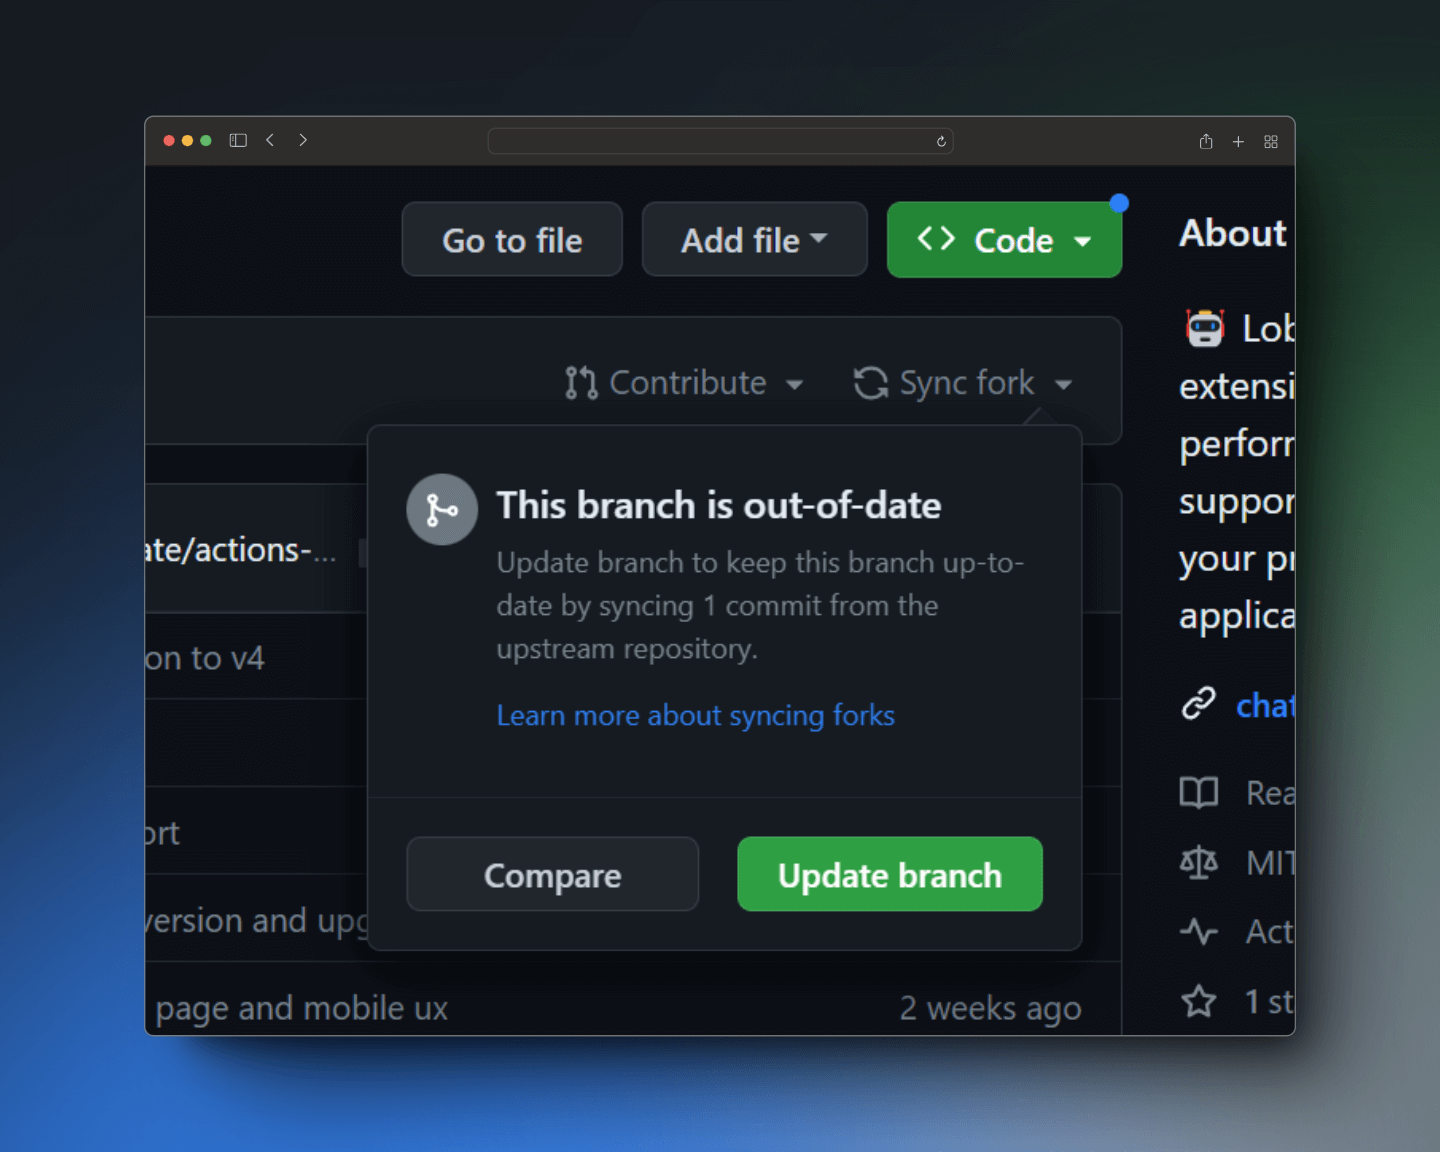
2. Check for Divergence
Before you start syncing, it's a good idea to check if your fork is actually behind the upstream repository. GitHub provides a handy visual indicator for this. Look for a message near the top of your repository page that says something like "This branch is X commits behind lobehub:main." If you see this message, it means your fork is indeed outdated and needs to be synced.
3. Add the Upstream Repository as a Remote
To sync your fork, you need to tell Git where to fetch the latest changes from the upstream repository. This is done by adding the upstream repository as a remote. Here's how:
-
Open your terminal or command prompt.
-
Navigate to your local copy of the forked repository using the
cdcommand. -
Run the following command to add the upstream repository as a remote:
git remote add upstream https://github.com/lobehub/lobe-chat.gitReplace
https://github.com/lobehub/lobe-chat.gitwith the actual URL of the upstream repository if it's different. -
Verify that the remote has been added successfully by running:
git remote -vYou should see
upstreamlisted as one of the remotes.
4. Fetch the Latest Changes from Upstream
Now that you've added the upstream repository as a remote, you can fetch the latest changes from it. This will download all the commits, branches, and tags from the upstream repository without merging them into your local branch. To fetch the changes, run the following command:
git fetch upstream
This command will update your local copy with the latest information from the upstream repository. You can then view these changes using Git commands like git log or gitk.
5. Merge the Upstream Changes into Your Local Branch
After fetching the latest changes, you need to merge them into your local branch. This will combine the changes from the upstream repository with your own changes. To merge the changes, run the following command:
git merge upstream/main
Replace main with the name of the branch you want to merge into if it's different. For example, if you're working on a branch called develop, you would run git merge upstream/develop.
6. Resolve Conflicts (If Any)
Sometimes, when merging changes, you may encounter conflicts. This happens when both you and the upstream repository have made changes to the same file, and Git can't automatically resolve the differences. If you encounter conflicts, you'll need to manually edit the affected files to resolve them. Git will mark the conflicting sections with special markers like <<<<<<<, =======, and >>>>>>>. You'll need to choose which changes to keep and which to discard, then remove the conflict markers.
7. Push the Changes to Your Fork
Once you've merged the upstream changes and resolved any conflicts, you're ready to push the changes to your forked repository on GitHub. This will update your fork with the latest code. To push the changes, run the following command:
git push origin <branch-name>
Replace <branch-name> with the name of the branch you want to push. For example, if you're working on the main branch, you would run git push origin main.
Staying Updated
By following these steps, you can ensure your fork remains up-to-date with the latest changes from the LobeChat repository. Regular syncing is key to a smooth development experience, so make it a habit!
Additional Resources
For more detailed instructions and troubleshooting tips, refer to the official LobeChat documentation:
Happy coding, and keep those forks in sync!